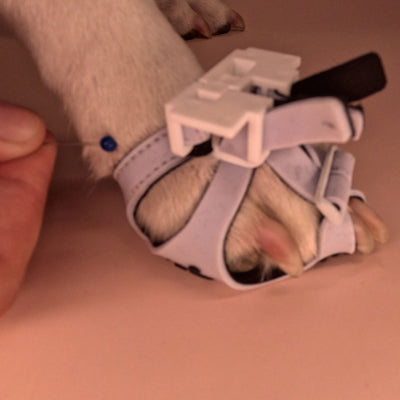
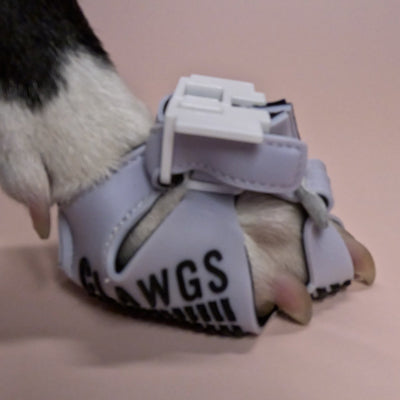
CLAWGS V2 INSTRUCTIONS:
Dogs are counting on us to put on the correct sizes with properly adjusted straps. With six to eight adjustment points per Clawg, there's tons of possible variations that have a huge impact on Clawgs' performance and dogs' comfort.
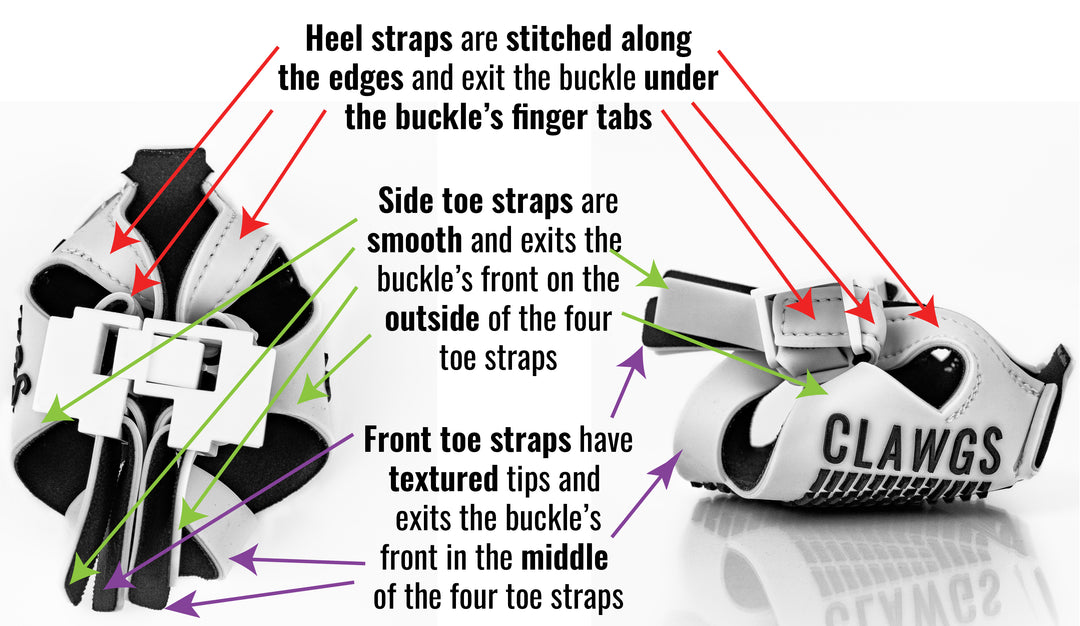
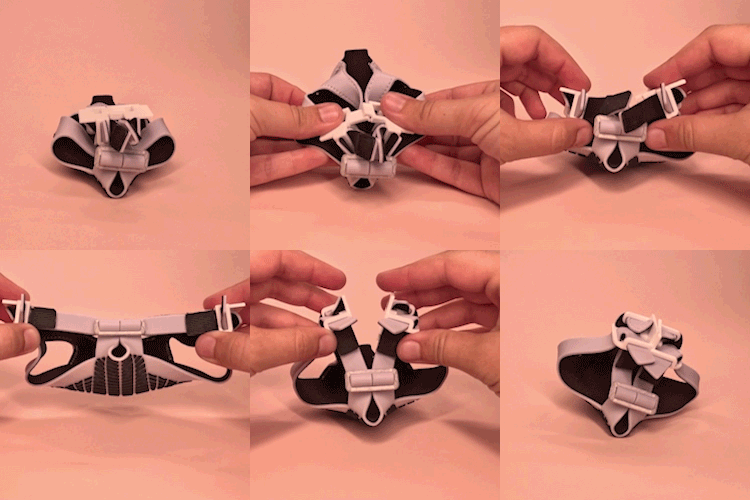
Please familiarize yourself with Clawgs before attempting to put them on your dog.
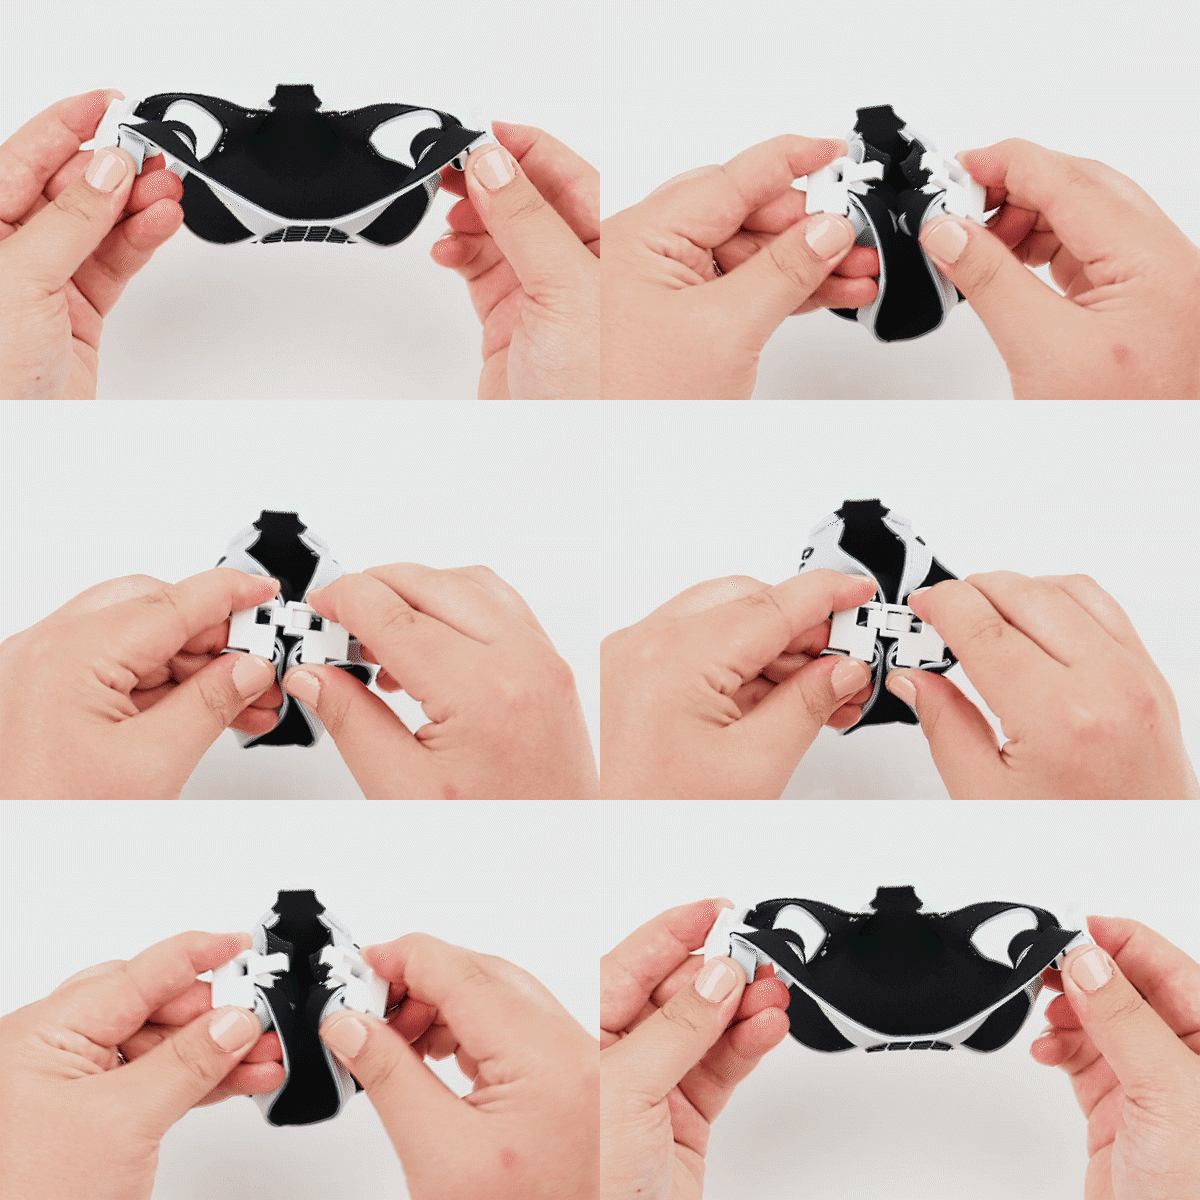
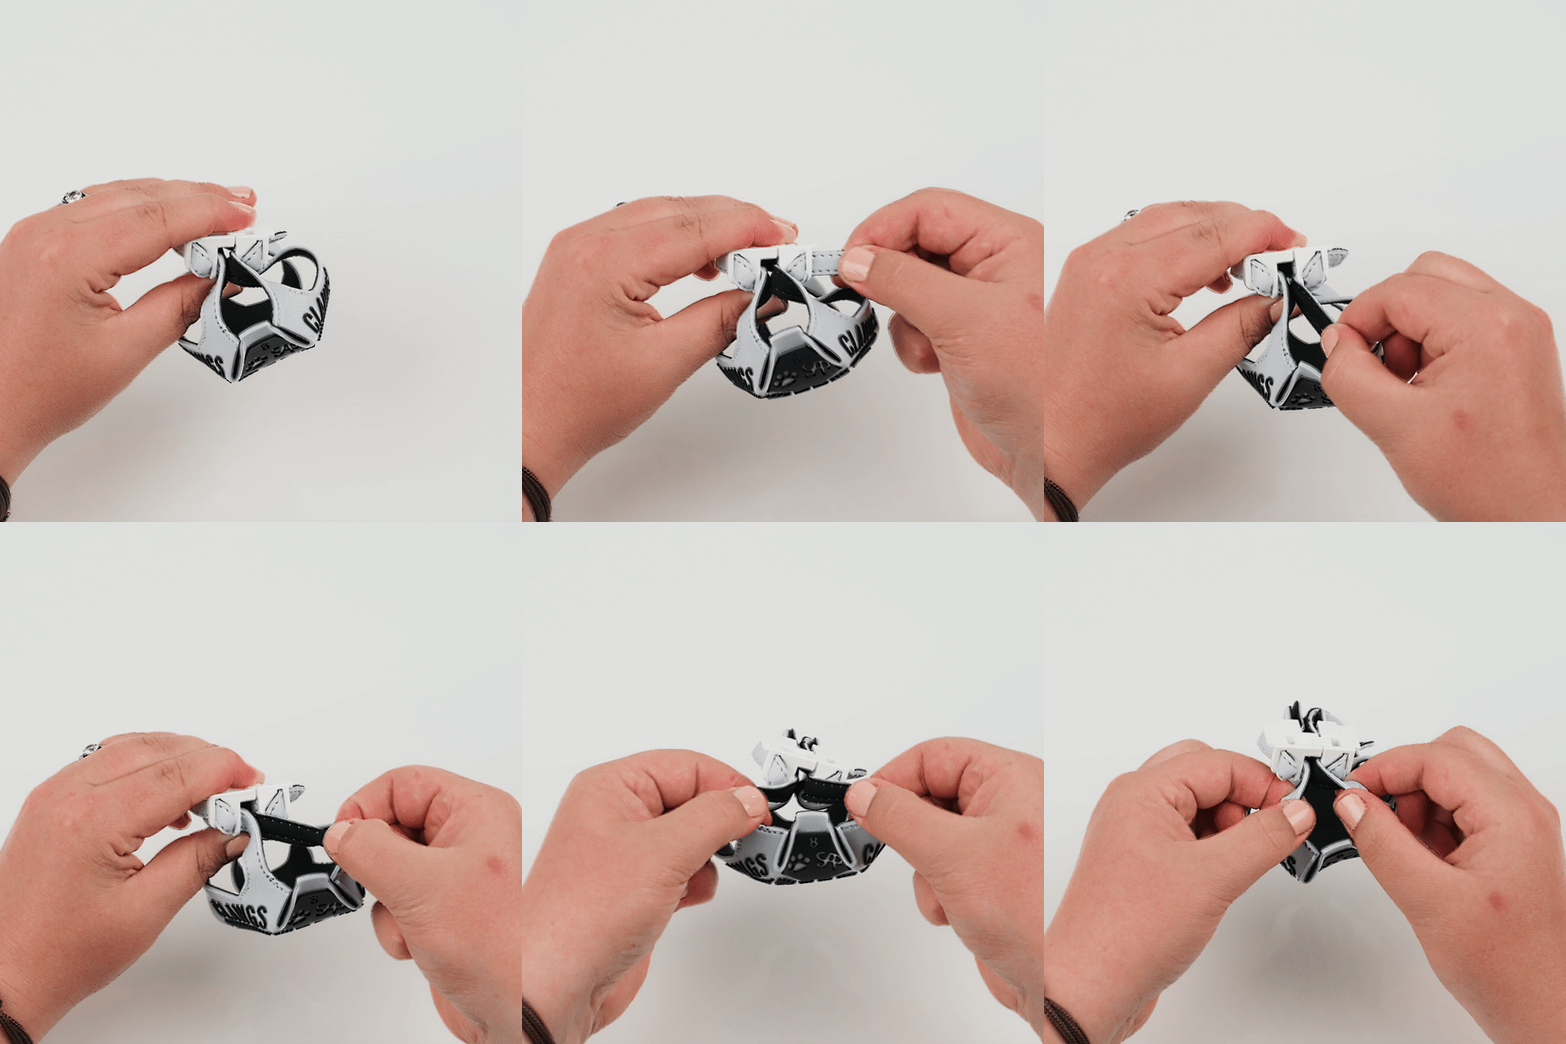
Fasten and unfasten buckles.
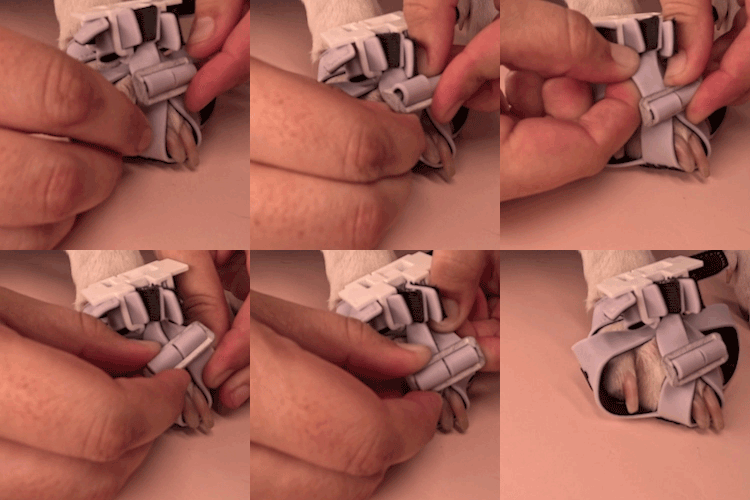
HEEL STRAPS' THREE CONFIGURATIONS:
When heel straps are only in the first buckle loop, the strap lengths can be easily adjusted.
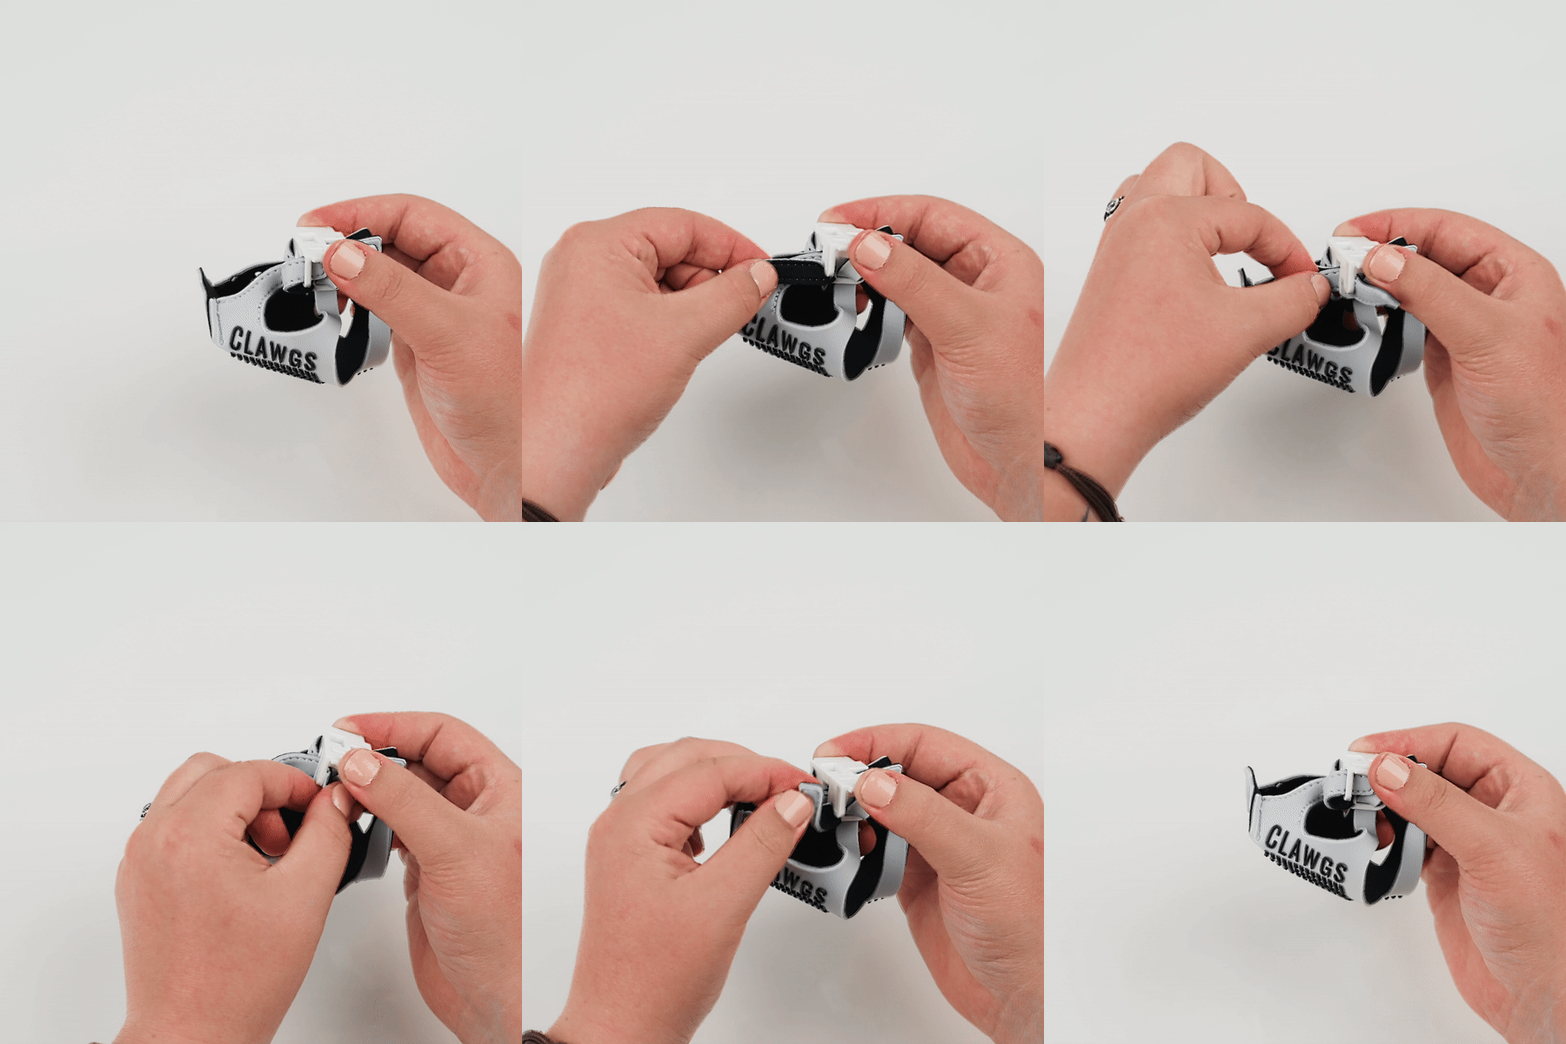
When heel straps are in the first buckle loop and the notch between buckle loops, strap lengths are held relatively well but are adjustable by pulling heel straps hard.
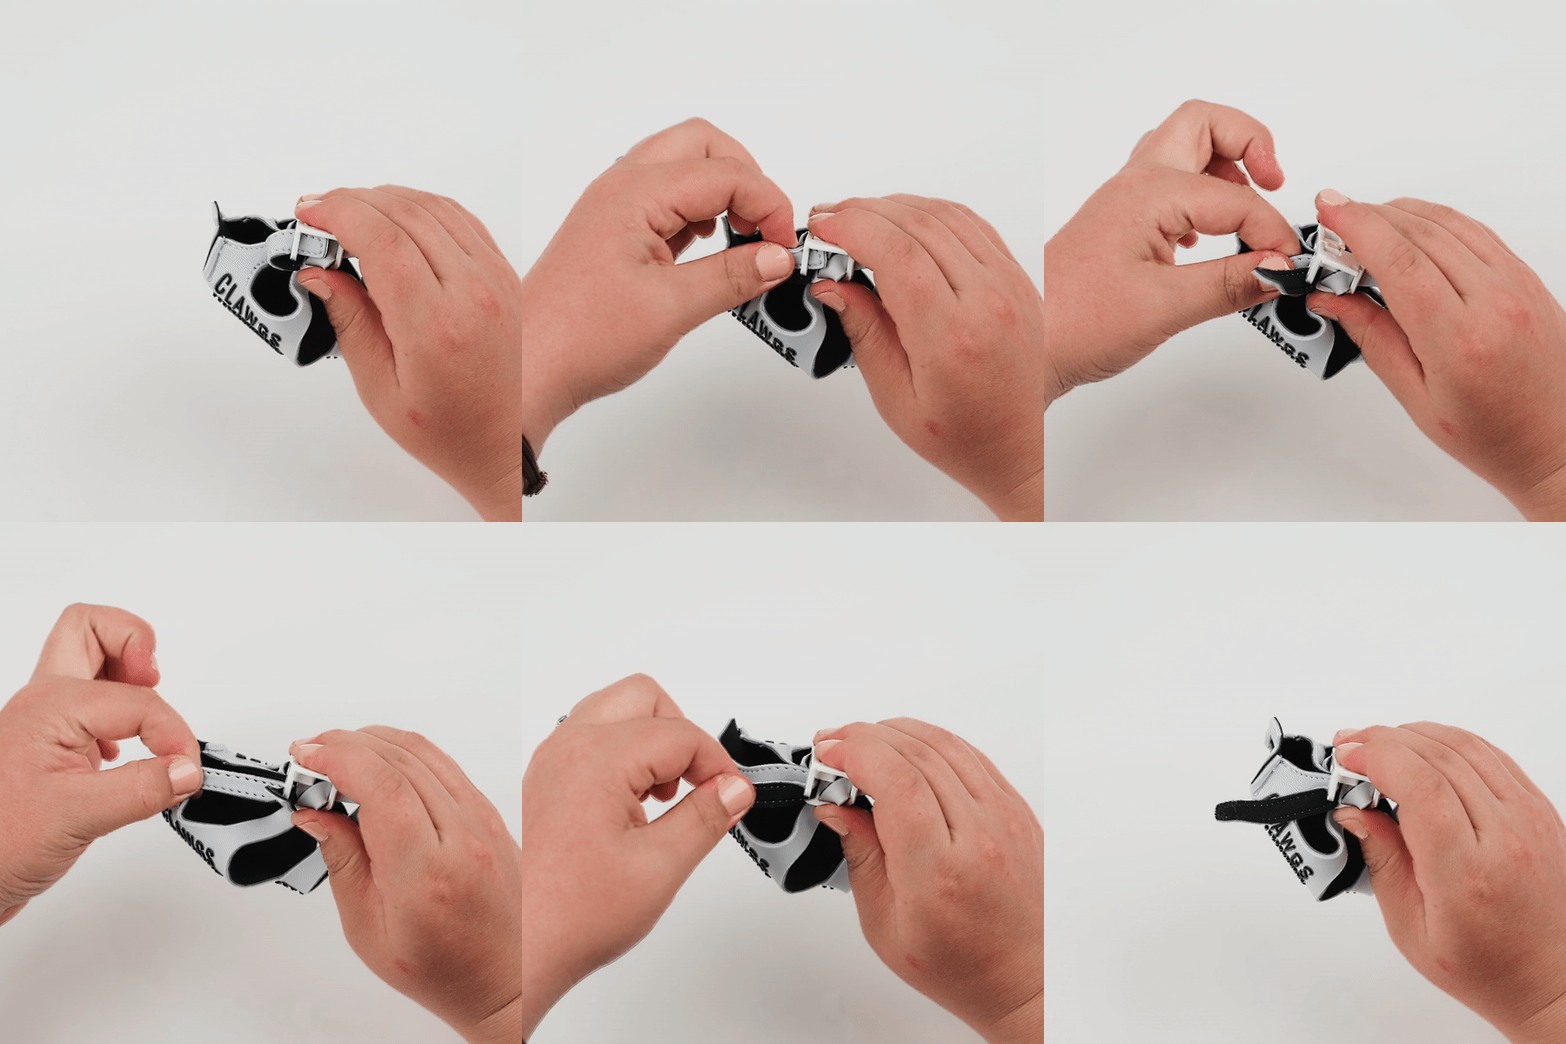
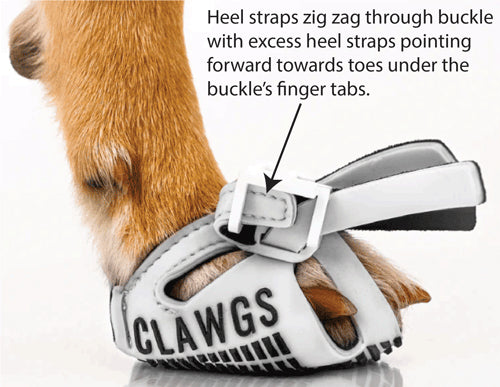
When heel straps zig zag through buckles' loops, it is not possible to tighten or loosen the straps. This is the "locked in" position
